Don’t you love the whimsy you get when you plant herbs in things other than pots? I know I do. That is why I am so excited to share this kitchen herb basket with you.
I should also mention that this is a super quick project. The entire thing (minus gathering the materials) only took me about 15 minutes to do on my kitchen floor. I have yet to make myself a proper ‘potting bench’ so the floor will have to do.
This easy DIY herb basket makes a great centerpiece indoors or on the patio table. Or, it would be a lovely gift if you know someone else who enjoys cooking with fresh herbs too.
Note: If you decide to put it outside, make sure it is in a covered spot. I put mine out on the patio table later in the summer and the wicker definitely showed more wear from the rain.
Choosing the Basket:
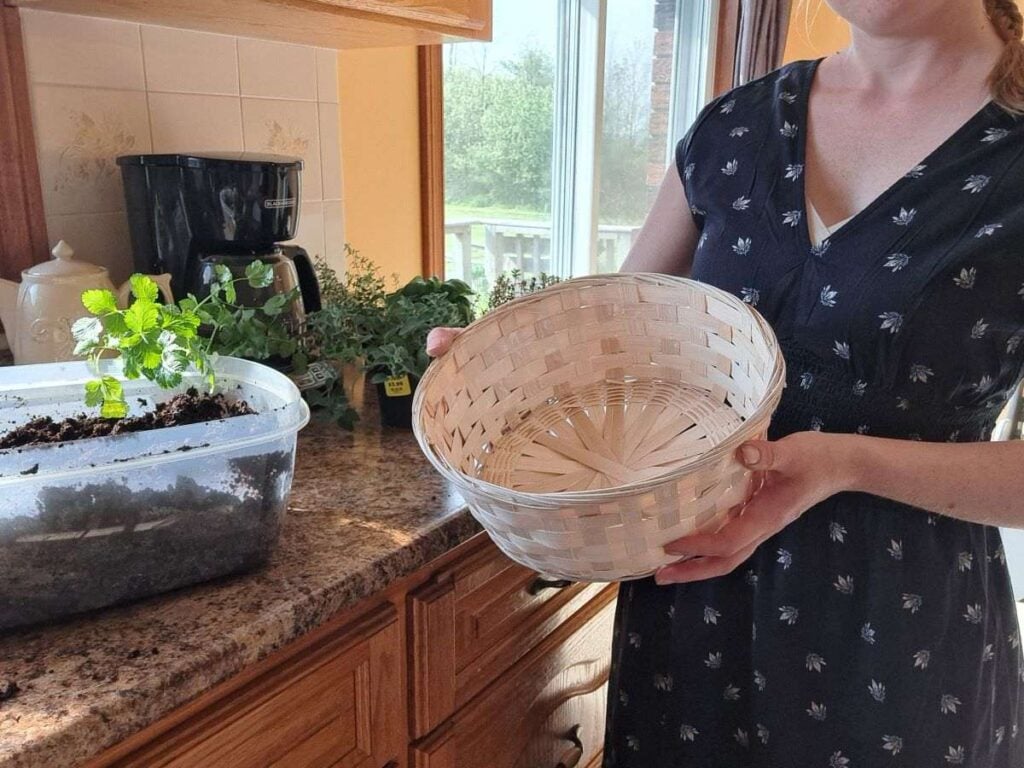
To make this, I first had to find the perfect basket. So, I set off to my local thrift store and found one. Other great spots to get a basket would be at a garage sale, the dollar store, or you could ask a friend or relative.
There are so many to choose from and any will work as long as it can accommodate the soil and roots of your plants. I think a basket with a handle would look super cute too.
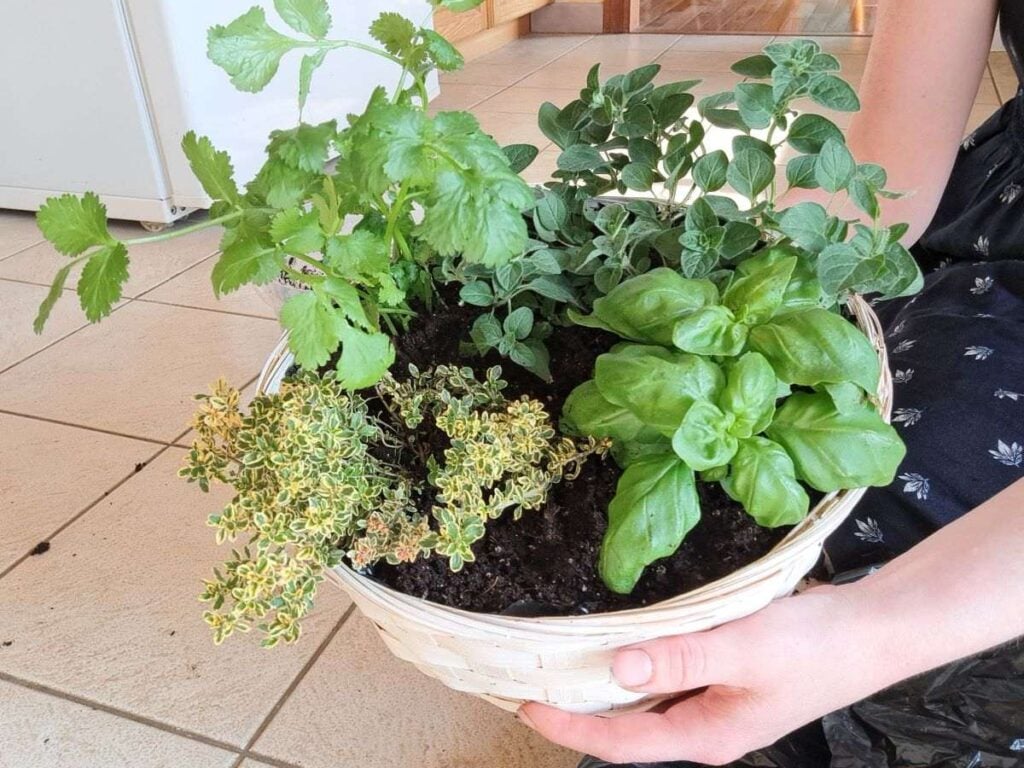
The one I chose is 10 inches in diameter and 4 inches deep. I have managed to fit 4 herbs in there for now. I am sure it will eventually get a little crowded, but that is ok by me.
Update: I have had this basket growing for about three months now and with continual pruning, it is still doing fine.
Choosing the Herbs:
You could choose a theme for your herb basket like Italian, Greek, or some other cuisine. Or, just go with a random assortment of your favourite herbs.
If you are having trouble deciding, then check out this post about the nine easiest herbs to grow in the kitchen.
I ended up going with Greek Oregano, Lemon Thyme, Genovese Basil, and some Cilantro (which I later switched out for Parsley). So yes, in the end, I went the Italian route for this basket.
I like how the oregano and thyme cover the soil and spill over the basket, then the basil and parsley give it some height. Plus, there is a nice mix of textures and leaf shapes.
I prefer the ground cover type of herbs (thyme, oregano, etc.) in baskets as they look so nice draping down the side of the wicker planter.
How to make a Kitchen Herb Basket:
First, gather all your materials:
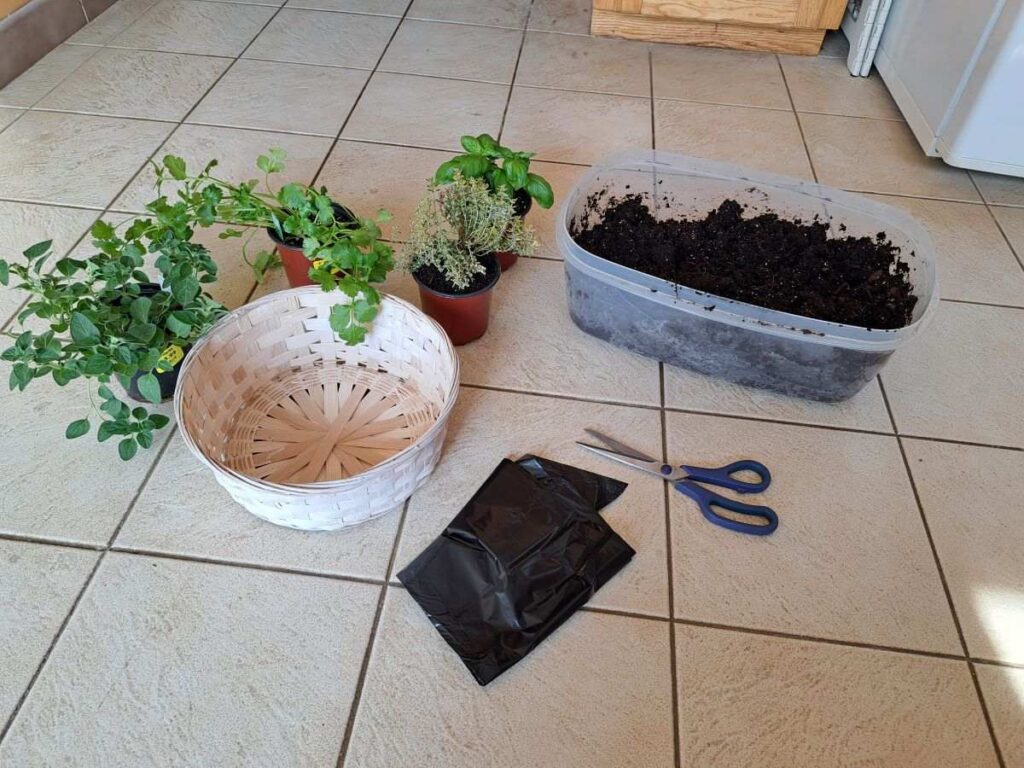
- Herbs
- Basket
- Potting mix
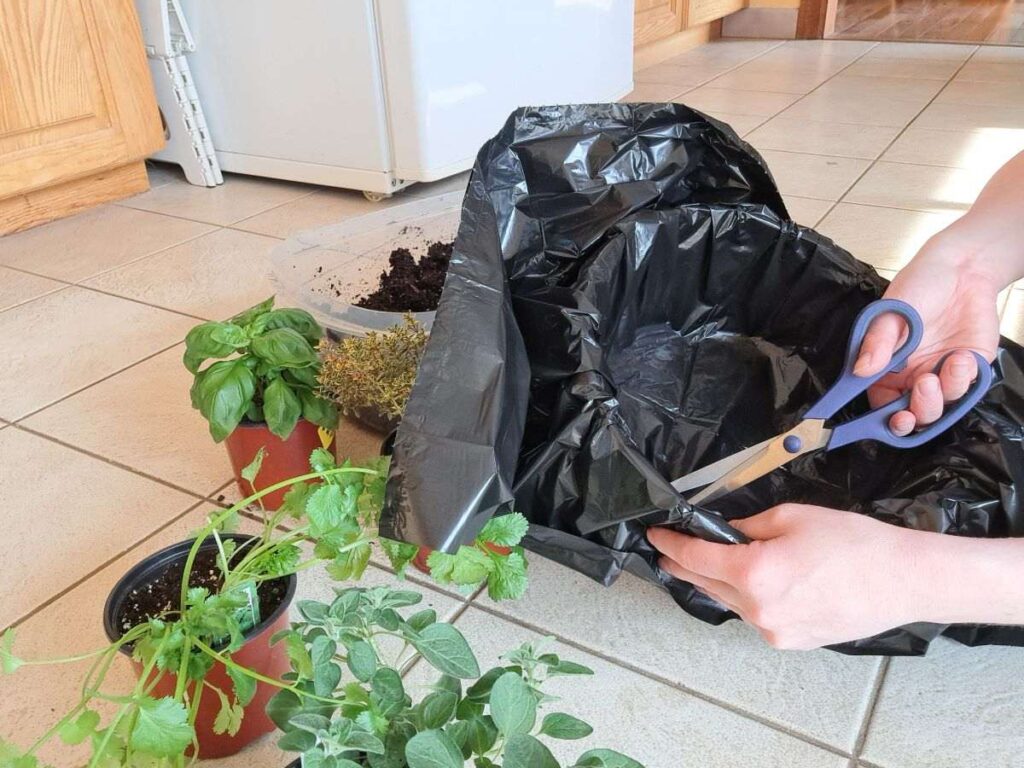
- Garbage bag or recycling bag
- Scissors
Step 1:
Arrange your herbs in the basket while they are still in their nursery pots. Move them around until you get the look you want.
Step 2:
Pre-moisten your soil. I like to do this in an old plastic container. Add enough water and mix with the soil until it will hold together nicely, but no large amounts of water drip out when you squeeze the soil into a ball. It should feel like a damp sponge.
Step 3:
Place the garbage bag inside the basket and push it down into the corners like you would add pie dough to a pie plate. I cut 5 holes in the bottom of the garbage bag for drainage.
Step 4:
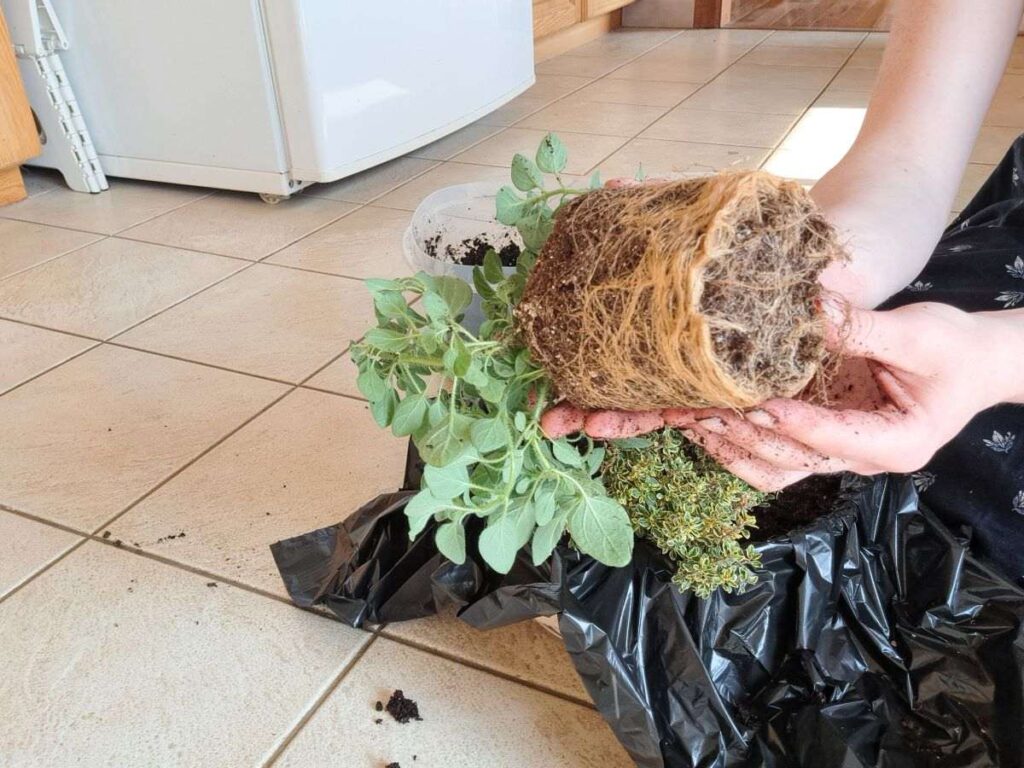
Fill the basket with the premoistened soil about 3/4 of the way. Dig out a hole for your first herb, and then plant. Continue with each herb until they are all planted, and the soil is about a half inch from the top of the basket.

Look how root-bound this oregano was… not good. But if you come across this just simply break into the roots at the bottom to loosen them up. Then you are good to plant.
Step 5:
Now for the finishing touch. Trim the garbage bag just below the top of the basket but make sure to keep it above the soil level. It is ok if you can see the bag just slightly at first. Once the herbs grow in, they should cover it.

If you find any pieces that are really bothering you, then you can trim them down a little further at any time. The goal of the bag is to keep moisture away from the basket.
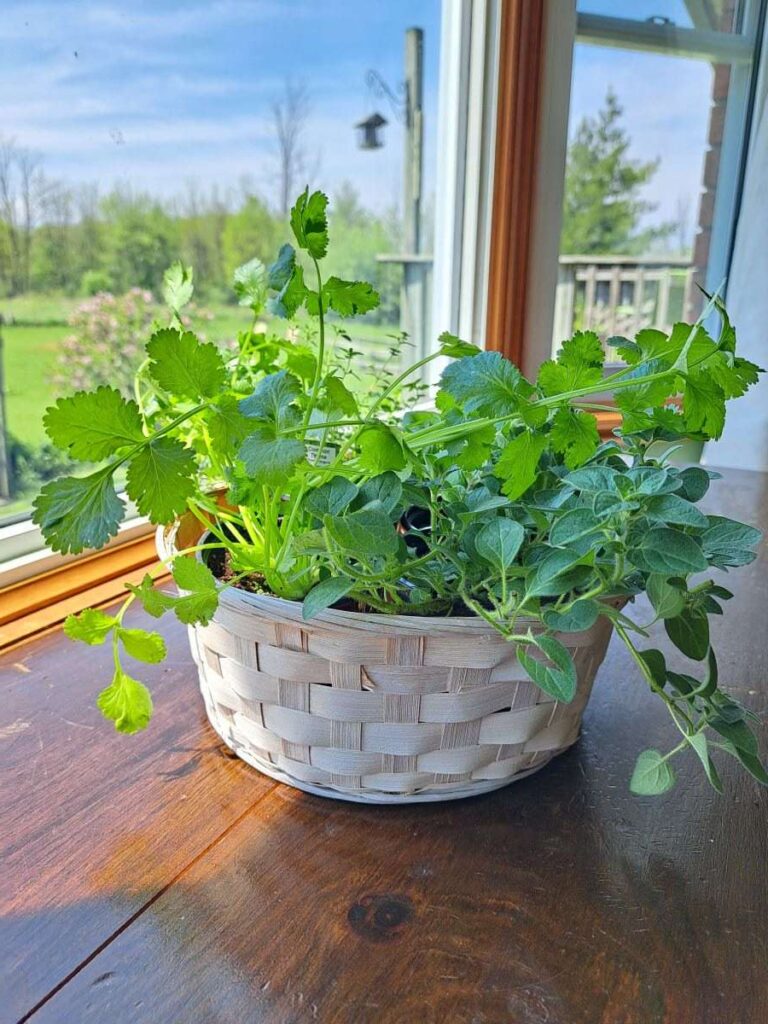
And voila! You now have your very own kitchen herb basket.
I set mine on the dining table with a wooden cookie underneath to keep with my natural theme. It would also look nice sitting on top of a serving platter, or some other plate.
I wouldn’t want to set it directly on a wooden surface because if any water leaks through it will damage your tabletop.
Care and Maintenance of your Kitchen Herb Basket:
The good news is that there is very little maintenance involved here.
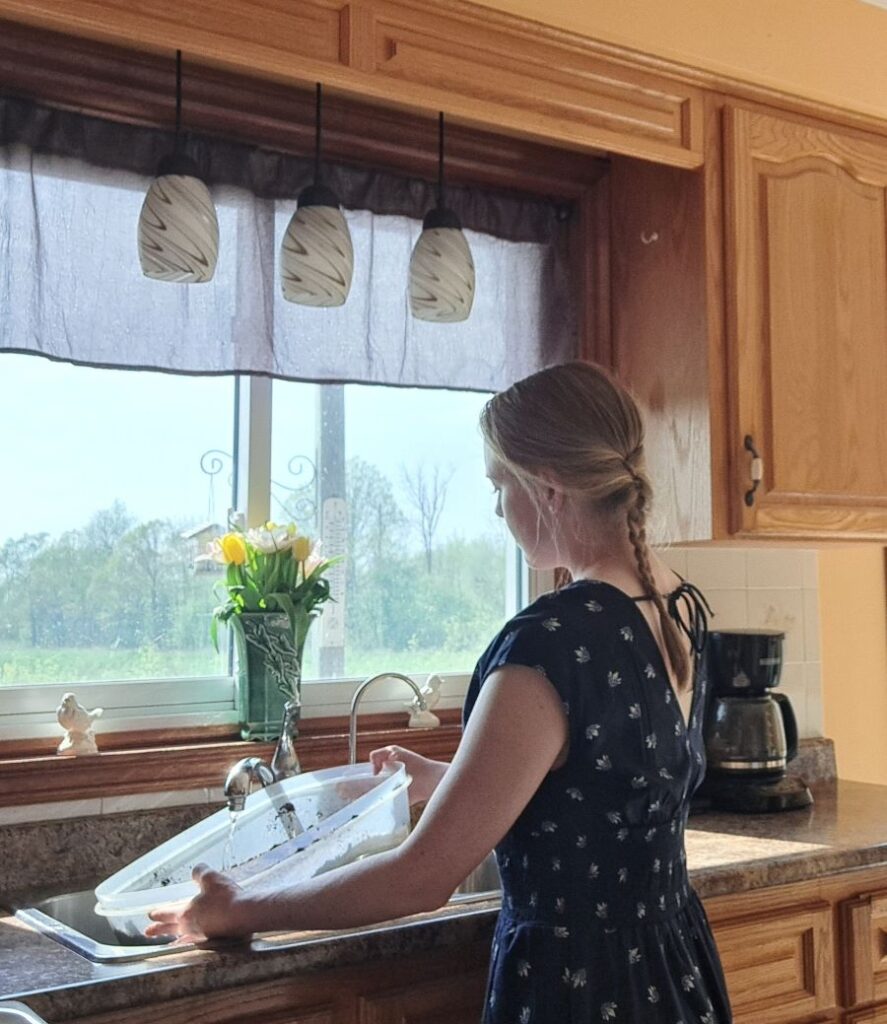
Just check your planter regularly to see if it needs water and water accordingly. The easiest way to check if your plant needs a drink is by pushing one finger down into the soil to feel for moisture. I like to water in the sink so any excess water can drain there.
Other than that, you will just want to keep pruning (aka. harvesting) those fresh herbs to enjoy, maintain a nice shape, and promote more healthy growth.
If you want to learn more about the keys to success of growing herbs indoors then read my complete guide to growing herbs indoors.
Well, I hope you give this a try because who doesn’t love fresh herbs growing right on your table – garnish doesn’t get much easier than that now does it!
Looking for more inspiration? Then check out this post with even more indoor herb garden ideas to try.
Until next time!
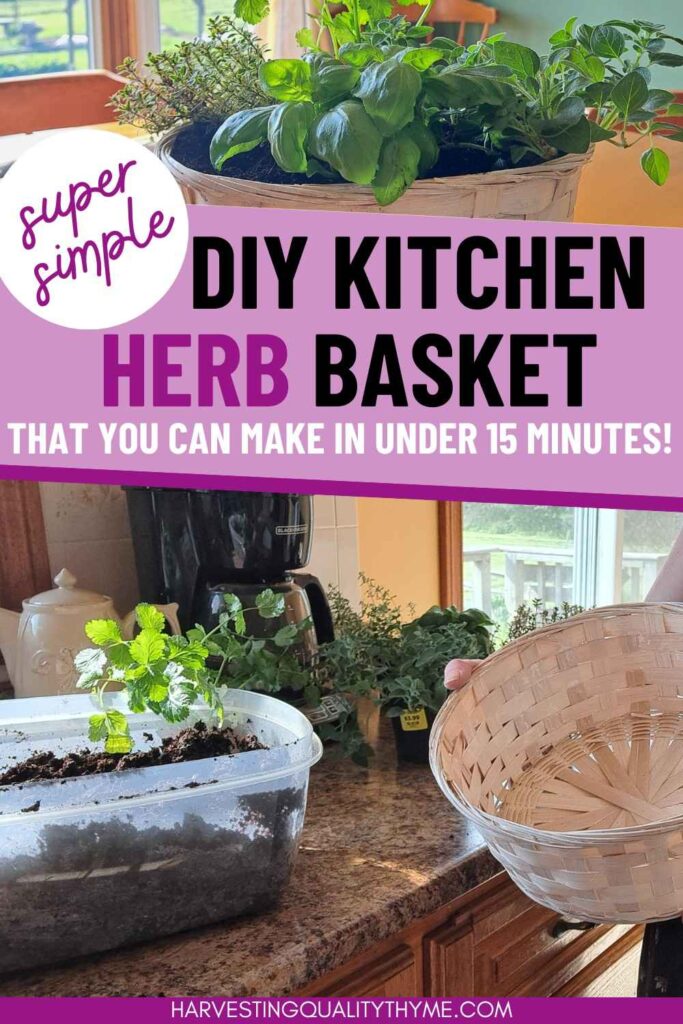
Pin It For Later
Leave a Reply