Learn all the ways you can effectively grow dill from seed. With just a few simple steps and minimal equipment, you can be growing a year supply of dill in no time!
This post will outline three different methods of planting dill seeds. So if you are starting dill indoors, outside in the herb garden, or in pots on your patio – I have you covered.
Just think of all the fresh, tasty dill you could be adding to your next potato salad. Or, how about dehydrating extra dill to make a popcorn seasoning later. Yum!
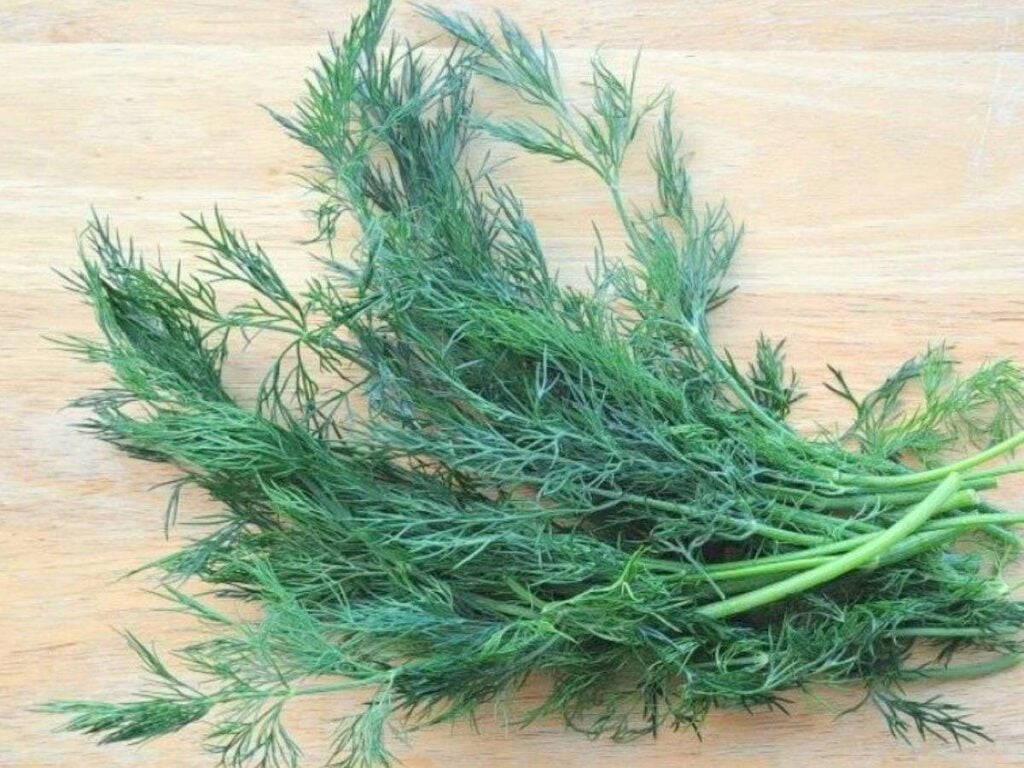
Dill (Anethum graveolens) or “dill weed” is a quick and easy annual herb to grow. It originates from the Mediterranean region, and is related to the same family as fennel, carrots, and parsnips.
Dill generally grows 2-3 feet tall and has pretty blue-green feathery leaves, with yellow flat top flowers. It prefers well drained, nutrient rich soil and full sun.
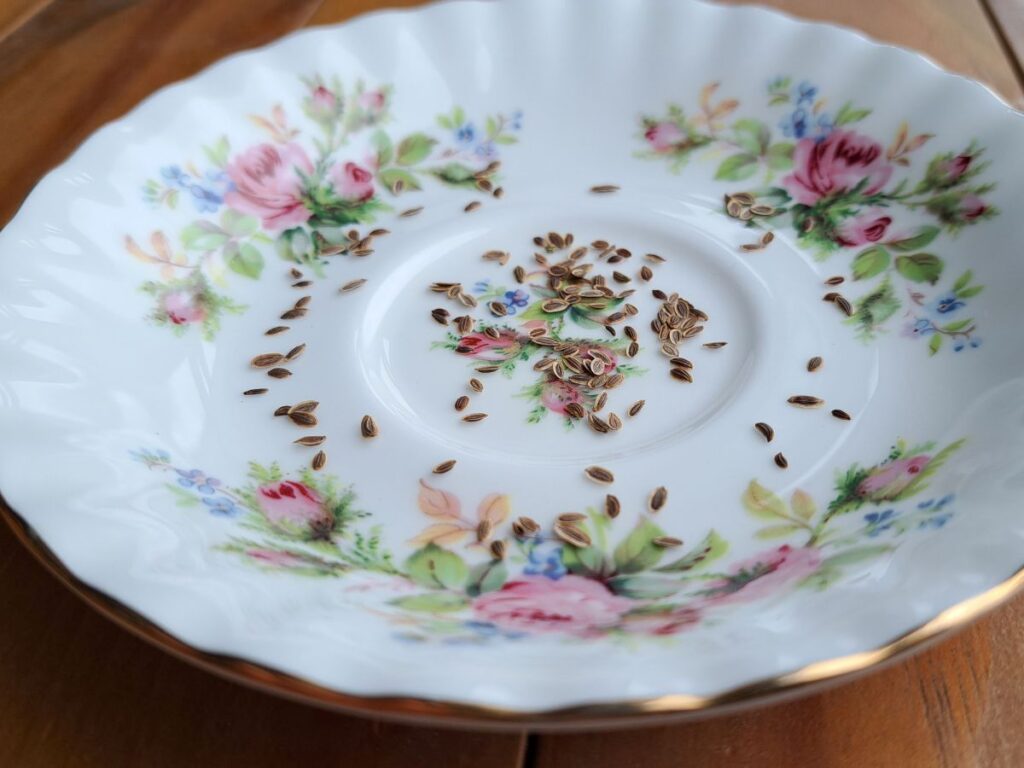
Dill is an amazing herb to add to your garden with its intense flavour. The flowers, seeds, stems, and leaves are all edible.
Dill will start to flower during the summer when it gets hot. Which means, it is best if you succession sow. This way you always have new leaf growth coming on younger plants.
It is also a great companion in the garden as it welcomes in beneficial bugs like hover flies. You want hover flies in the garden as they help with pollination, and aphid control.
Another fun fact is that dill provides a habitat for swallowtail butterfly larvae! So it makes a great addition to a butterfly garden. I like to plant extra dill so I can share with the butterflies.
Table of Contents:
- Why Grow Dill from Seed
- Quick Reference to Planting Dill Seeds
- How to Grow Dill from Seed Indoors
- How to Start Dill Seeds Outdoors
- Winter Sowing Dill Seeds
- FAQs
Why Grow Dill from Seed?
Dill is very easy to grow from seed and it doesn’t take too long either, so I say why not?
I love that I get to choose from different varieties that you may not see at your local garden center. This way you can really tailor your plants to where and how you want to grow them.
You could choose a dwarf variety if you are growing in pots, or some that do better in the weather conditions that you regularly get. You can find 9 different varieties available at Richters Herbs here.
Another great benefit of growing dill from seed is that you will be saving money. A packet of dill seeds will give you so many more plants for a fraction of the cost when compared to buying fresh cut dill from the grocery store or even dill plants from the garden center.
My last reason for growing dill from seed is that you can grow it any time of year – even in the middle of winter! Just grab a packet of seeds and start them inside with a good grow light and you will be all set.
Quick REference to Planting Dill Seeds:
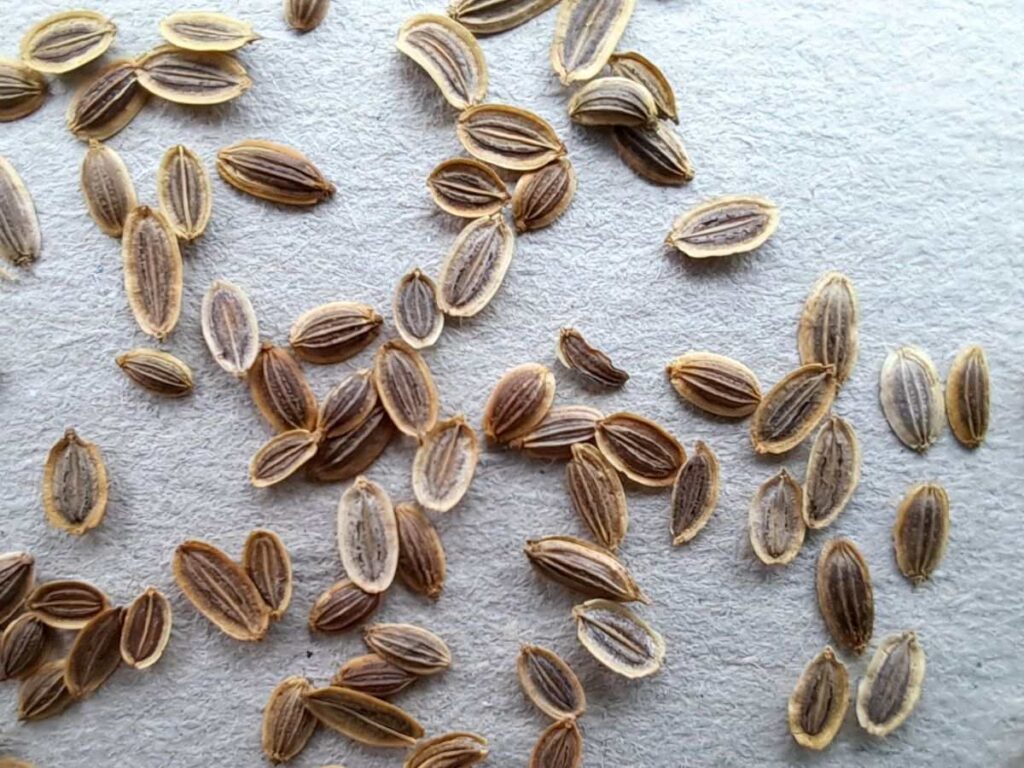
- planting depth: 1/4 inch (twice the seed width)
- Dill seed germination time: 7 – 21 days
- temperature: 60-70 degrees F (15-21c)
How to Grow Dill from Seed Indoors
I like to start my dill seeds about 4 weeks before I plan on planting outside. If you are growing them for an indoor kitchen herb garden, then you can start them anytime you like.
You will want a good grow light or south facing window to make sure you get good leaf growth. As mentioned above, you can continue to start dill seeds indoors and then move outside all throughout the summer so that you will get more harvest.
Here is what you need in order to grow dill from seed indoors…
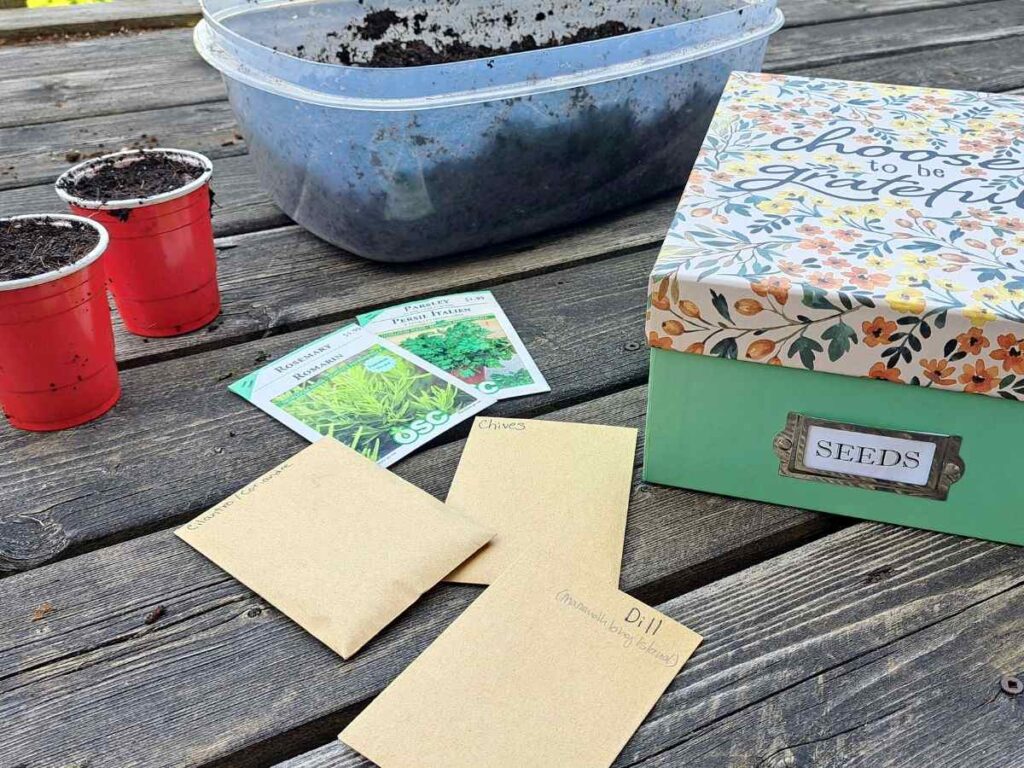
Materials Needed:
- Dill Seeds
- Potting Mix
- Seed starting pot or tray
- Small watering can or spray bottle
- Grow lights or a bright south facing window
Steps:
- As always, you want to start by pre-moistening your soil
- Fill your pot or seed starting tray to about a 1/4 from the top of the container
- Take a pinch of dill seeds and lightly sprinkle them across the top of the soil
- Add a very light layer of soil over the top of the seeds to cover them about a 1/4 of an inch and press down
- Water or mist over the top of the soil so it settles in nicely around the seeds
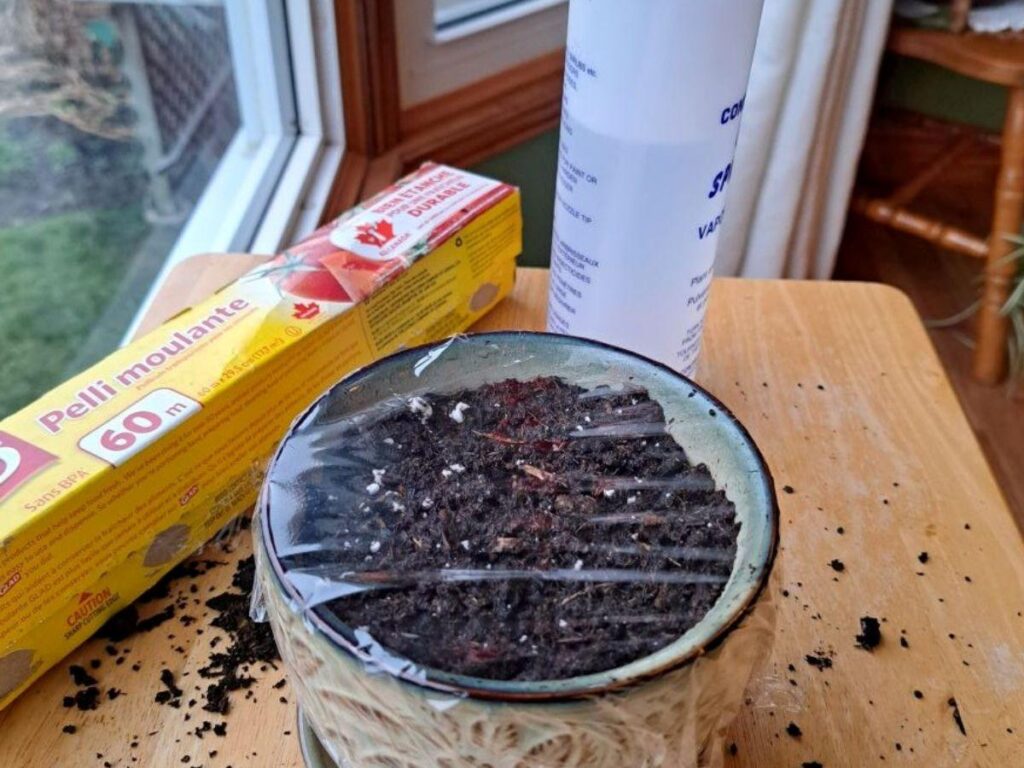
- Place some plastic wrap over the pot or tray to lock in the moisture and set in a warm spot in your home
- Once you see sprouts, you can remove the plastic wrap and place them under a grow light
Check your sprouts each day to see if they need water. If you notice the soil feels dry, is lighter in colour, or the container feels less heavy you will want to water.
When the temperatures are above 10 degrees Celsius you can start to harden off your seedlings. Do this by introducing them to the outdoors for about 1 hour, and then slowly increase the time each day. I usually do this over a week or two.
Prepare a nice sunny spot in your garden by fluffing up the soil and adding some compost. Plant our your seedlings after they have hardened off and temperatures are no longer dipping below freezing.
If you are growing your dill in an indoor herb garden, then make sure you have a good sized pot and just keep caring for them as you go. Check out my complete guide to growing herbs indoors if you want more information on that.
How to Start Dill Seeds Outdoors
If you are growing dill outdoors, there are two ways to do it. In pots, or by direct sowing in the garden.
For best results, you want to make sure the weather has warmed up and you are past your last frost date before attempting either of these methods. It is possible to start dill outside in cooler weather, but you will need to take extra measures (see winter sowing dill below).
If you are starting your dill seed outside in pots, then you will follow the same steps as starting indoors (outlined above). The only difference is that instead of a grow light, you will be using the sun, and you will need to be extra mindful of giving enough water.
If you are direct sowing your dill seeds in the garden, then the process is a little different.
Materials Needed:
- Dill Seeds
- Small hand rake
- Watering can or spray bottle
Steps:
- First choose a nice sunny spot in your garden and fluff up the soil with a hand rake
- Take a pinch of dill seeds and lightly sprinkle them across the top of the soil
- Add a very light layer of soil over the top of the seeds to cover them about a 1/4 of an inch and press down
- Water or mist over the top of the soil so it settles in nicely around the seeds
- Optional: add a cover over the seeds, such as a wooden board or glass container (be sure to remove at the very first sign of sprouts)
There will always be less consistency when direct sowing any seed in your garden. This is because of the weather, pests, and animals – all things you do not have to deal with indoors.
That being said, if you continue to watch closely, water when needed, and provide protection you should have great success. Plus this is the cheapest way to start seeds since you are relying mostly on mother nature to care for your seeds.
Winter Sowing Dill Seeds
Winter sowing dill seeds is a great way to get a head start on the season, and save money. You can keep it super simple and lower costs without needing a complicated set up. You probably have most of the things you need in your home already.
Another reason I love winter sowing is because you do not need to harden off the seedlings as they are already used to the intensity of the sun.
Materials Needed:
- large old plastic jugs (milk jugs/apple cider/water jugs)
- seeds
- potting mix
- duct tape
Steps:
- prepare your jugs by cutting around the base about 4 inches from the bottom or just below the handle, but don’t cut all the way around. Leave a small section at the handle to act as a hinge.
- Add some drainage holes to the bottom of your container with a nail and hammer or drill.
- Pre-moisten your potting mix first, then add some into the bottom of the plastic jug up to about a 1 inch from where you cut.
- Lightly sprinkle your seeds on the top of the soil.
- Add a thin layer of potting mix over top, gently press down, and water in.
- Take some duct tape and tape around the base where you made your cut so it is all nicely sealed.
- Leave your jug outside with the lid off in a spot that gets sun.
Your jug should get moisture from rain and snow, but still check on them once in a while to make sure the soil is staying moist.
In about 10-21 days (depending on the temperature), you should see your first sprouts. Expect your dill seeds to take a much longer time sprouting with this method.
Continue to care for your seedlings and as the weather warms up you can take the top off the container.
When you plant out your dill, feel free to pull apart the plant so you get a few clumps to add to your garden or planters.

FAQs:
1. How long does it take to grow dill from seed?
From the time you plant a dill seed until you can harvest those first leaves it will be about 6 to 8 weeks.
2. Should I soak dill seeds before planting?
You do not need to soak dill seeds before planting. The reason people suggest this is that it can speed up germination. I find that it really doesn’t make that much of a difference.
Dill seeds are not that big so they easily soak up the water needed to germinate. You get the most benefit of soaking extra large seeds before planting such as nasturtium, beans, or peas for example.
3. Why aren’t my dill seeds germinating?
There are a few reasons why your dill may not be germinating.
A big thing is to give them enough time. It can take anywhere from 7-21 days before you see the first sprouts.
Germination time can be affected by the soil moisture and temperature. Make sure the soil is not too wet or too dry, and the soil is nice and warm. They will take much longer if it is very cold.
The last thing to consider is how old your seeds are. They may not be germinating because they are just too old and you need to buy new seeds.
4. How many dill seeds per hole?
Dill will naturally reseed itself and grow in a clump. For this reason, you do not need to worry too much about how many seeds you plant together.
I have found great success with lightly sprinkling seeds along the surface of the soil all together.
If you are starting dill seeds in a pot, then you can sprinkle seeds along the top and then divide the dill to get multiple clumps later on if you like.
Now Why Not Give It a Try!
Well, that is all I have on how to grow dill from seed. I hope you feel inspired and have the confidence to start growing your own dill at home.
Get ready to save money, and enjoy some amazing fresh dill in your kitchen.
Until next time!
Leave a Reply