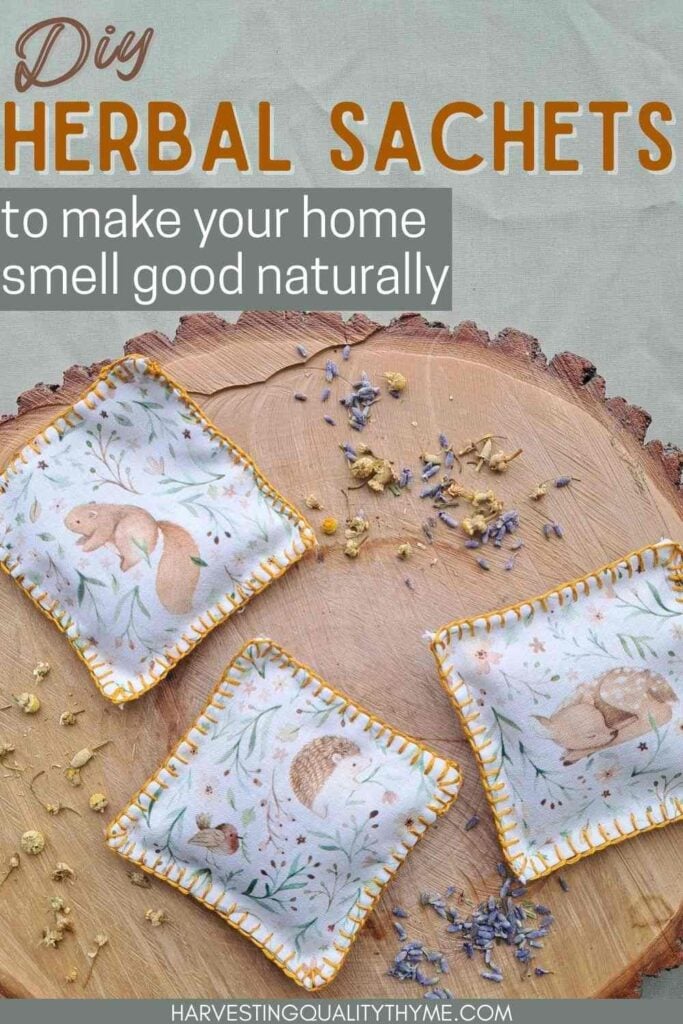
If you are looking for natural ways to make your home smell good, then you will love these diy herbal sachets. They are quick and easy to make, and they create such a lovely natural home fragrance. Plus, these scented sachets make great handmade gifts!
I am always looking for unique ways to use herbs from the garden. I think this is such a beautiful way to use the herbs you’ve grown and dried yourself.
I also like them because they are perfect little hand sewing projects to use up fabric scraps (no sew method included). So you can make them at low cost.
It is winter at the moment, so this is the perfect time of year to slow down and work on some herbal crafts in the warmth of your home. If you like this idea, then you may also want to try hanging herbs in the shower, or growing some indoor herbs to make your home smell good.
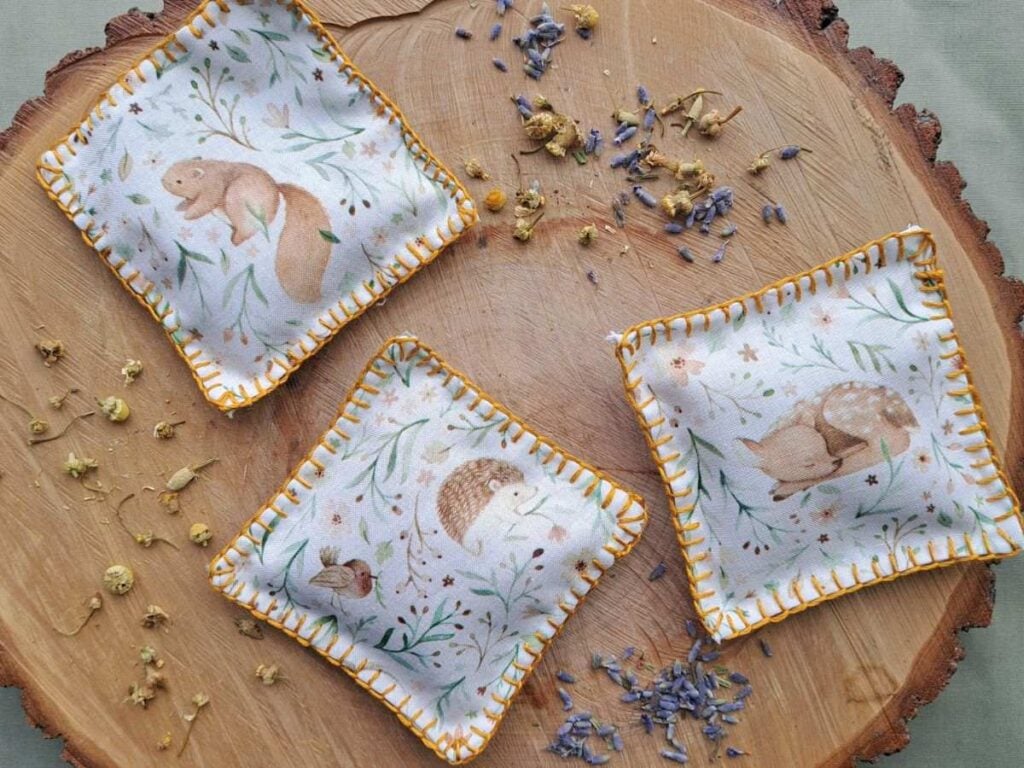
Today I am going to use chamomile and lavender, because it is what I currently have. But you can use anything that you like. I have included a list of different herbs and scents to try at the end of this post if you are looking for inspiration.
What are herbal sachets?
Herbal sachets are a traditional way to naturally scent your home. They are small bags or pouches filled with dried herbs, spices, or flowers to create any room scent you like.
Many people use them in the closet, wardrobe, drawers, cars, or you can even put one under your pillow at night to help you sleep.
These can be very seasonal as you can make Christmas scented sachets, or you can try some spring scent combos if you are in the spring cleaning mode.
Materials Needed
- Scrap fabric – preferably cotton or linen – something breathable. You could repurpose a tea towel, pillow case, a sheet, or even a reusable shopping bag could work (I know we all have more of those than we will ever need – how do they add up so fast)
- Free Printable Template – pdf available below
- Straight pins
- Scissors
- Sewing Needle
- Thread – I used embroidery floss
- Dried herbs of your choosing
- Optional: Rice – acts as a filler, and can help to preserve the scent, also provides some weight to the sachets
- Optional: essential oil to add extra scent
- For no sew option: string, ribbon, or elastic band
Get your free printable template here:
How to Make Herbal Sachets:
There are a couple ways that you can make these herbal sachets.
Option one is great if you are interested in beginner sewing projects, specifically hand sewing or embroidery. Option two is perfect if sewing really isn’t your thing.
First, gather your materials, and give your fabric a quick iron if need be. Mine definitely did because I pulled it out of a scrap fabric bin that I keep with my sewing supplies. It was left over from making a fitted sheet for my daughter’s bassinet.
Option 1: HanD Sewing Method
Step 1 – cut out and iron fabric
Print out the template provided with the materials list and cut out your favorite shape. Or you can measure out a 4″ by 4″ square on paper to cut out and use.
If you are just starting out, I would try the square first as it is the easiest.
Pin the paper cutout to your fabric.
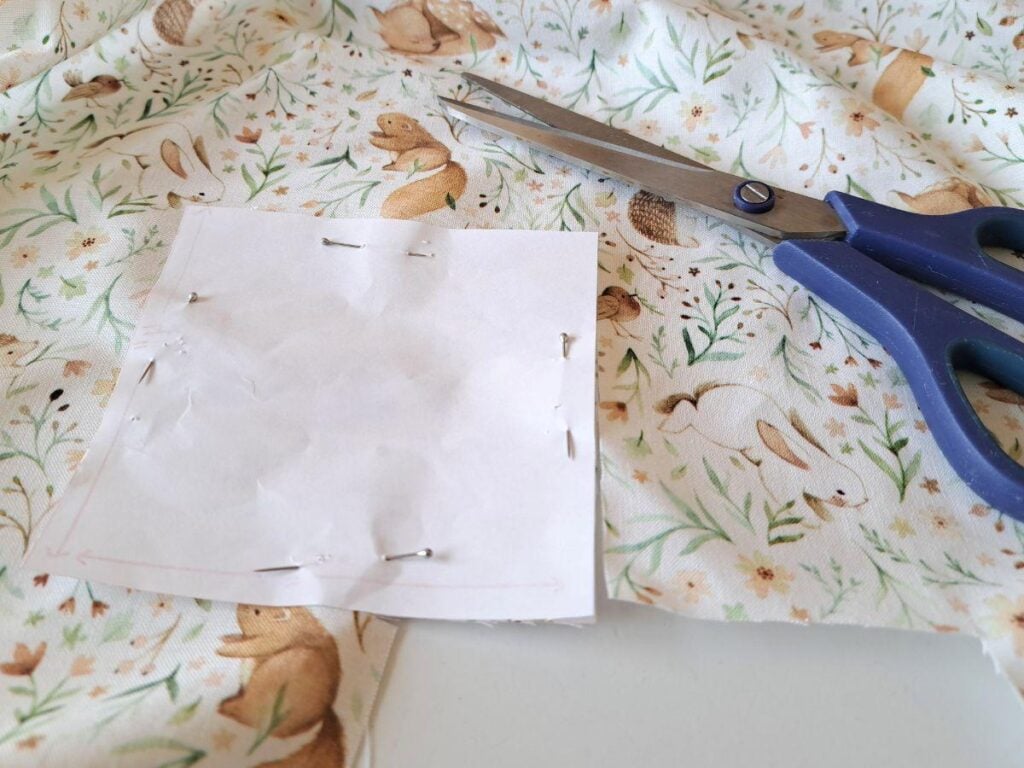
Cut the fabric around the shape. It is ok if you didn’t cut it exactly perfect. You won’t notice once it is sewn together.
Make sure to cut two pieces of fabric for each sachet so that you have a front and a back.
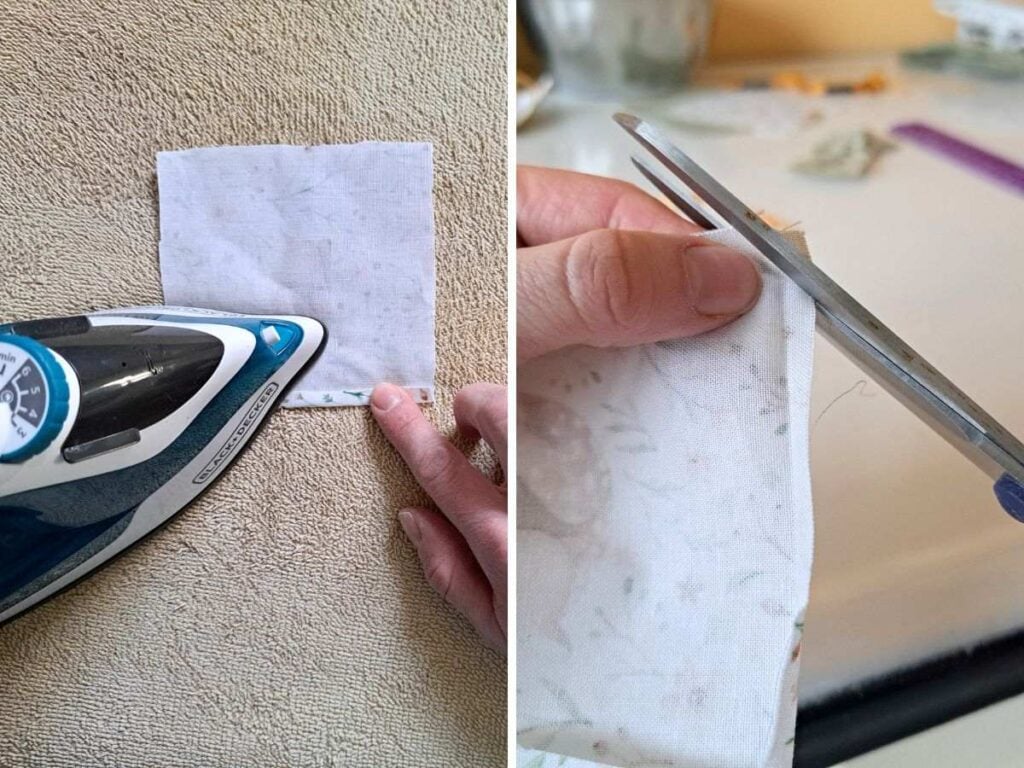
If your fabric is prone to fraying, then you need to iron creases around the edges. I did about 1/4 inch around mine since I was using cotton and it frays easily.
This is also a good time to snip off the corners of your square so there is less bulky material to deal with there.
If you chose to do a shape with rounded edges then you may want to cut a few small slits to help the fabric fold over nicer.
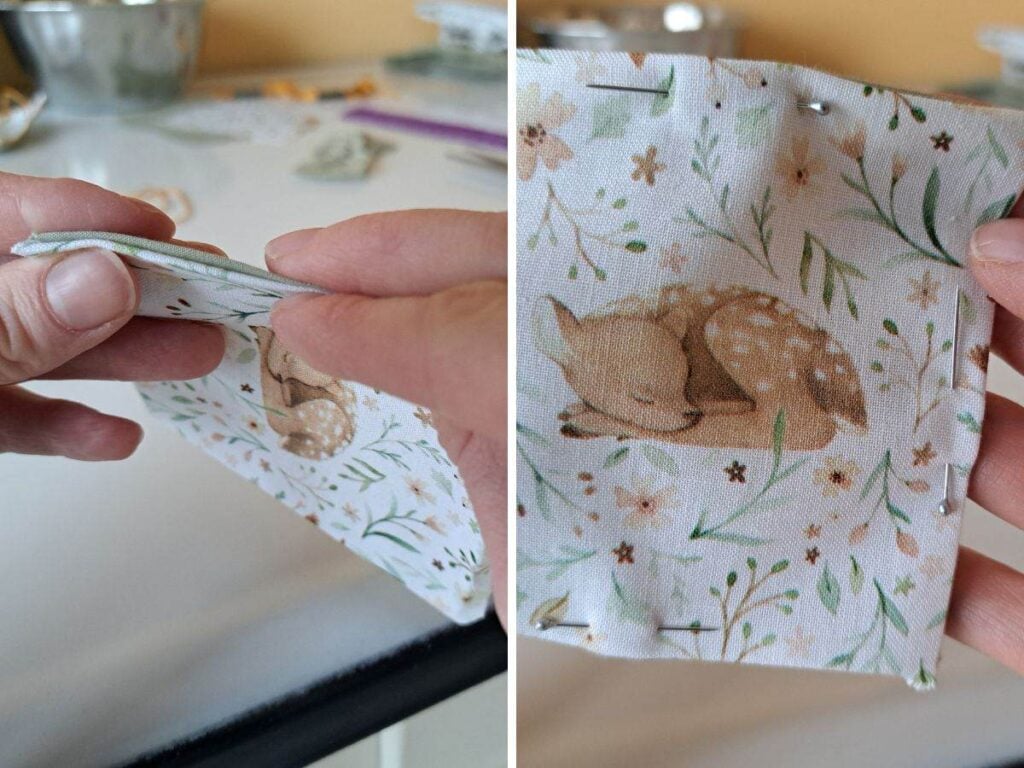
Line up your creased edges and then pin in place on all sides.
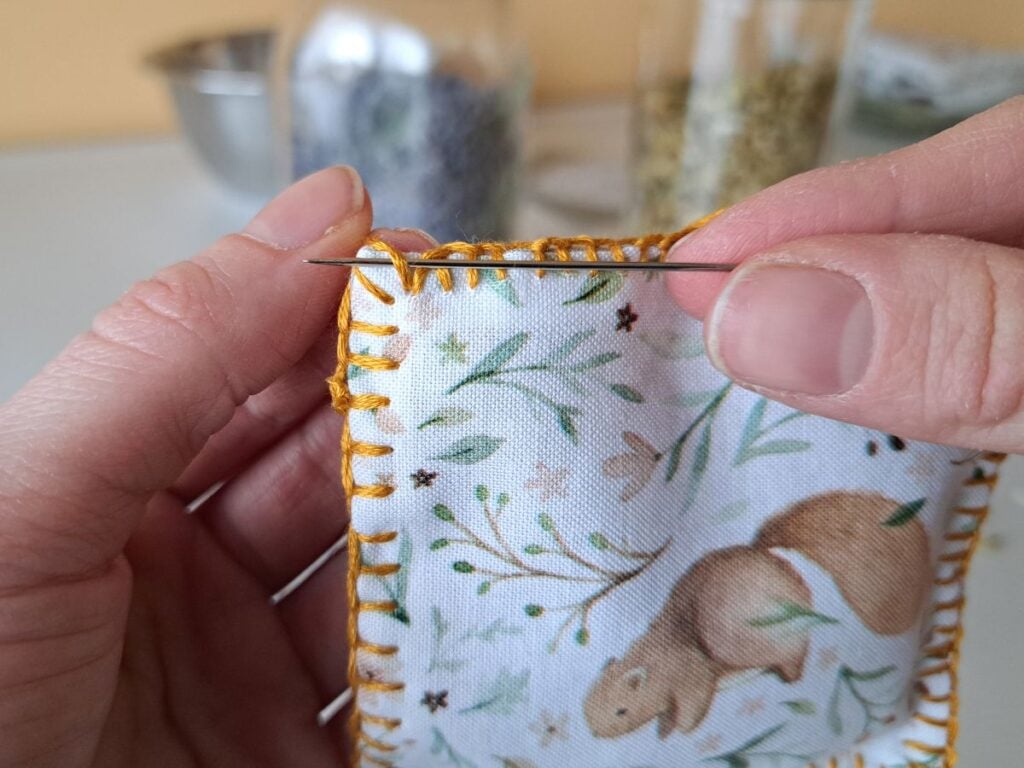
Step 2 – stitching around the edges
I used the blanket stitch because it is such an easy and pretty stitch to do. I first learned how to do this stitch when I was in middle school in my home economics class and we made felt teddy bears.
Measure out 5 feet of embroidery floss and thread your needle. Tie a knot at one end and leave a long tail at the other end.
I have steps with photos here, but if you prefer, I found a video that teaches how to do the blanket stitch as well.
Start near a corner, but not right on it. All your stitches will be about 1/4 inch from the edge of the fabric as well as from each other. Try to keep it as even as possible but it’s ok if it isn’t perfect. It will just add to that homemade look.

Put your need from back to front through the top layer of fabric so the knot is hidden between the layers. Then, put your needle through the back again – this time through both layers of fabric and come out at the same spot.
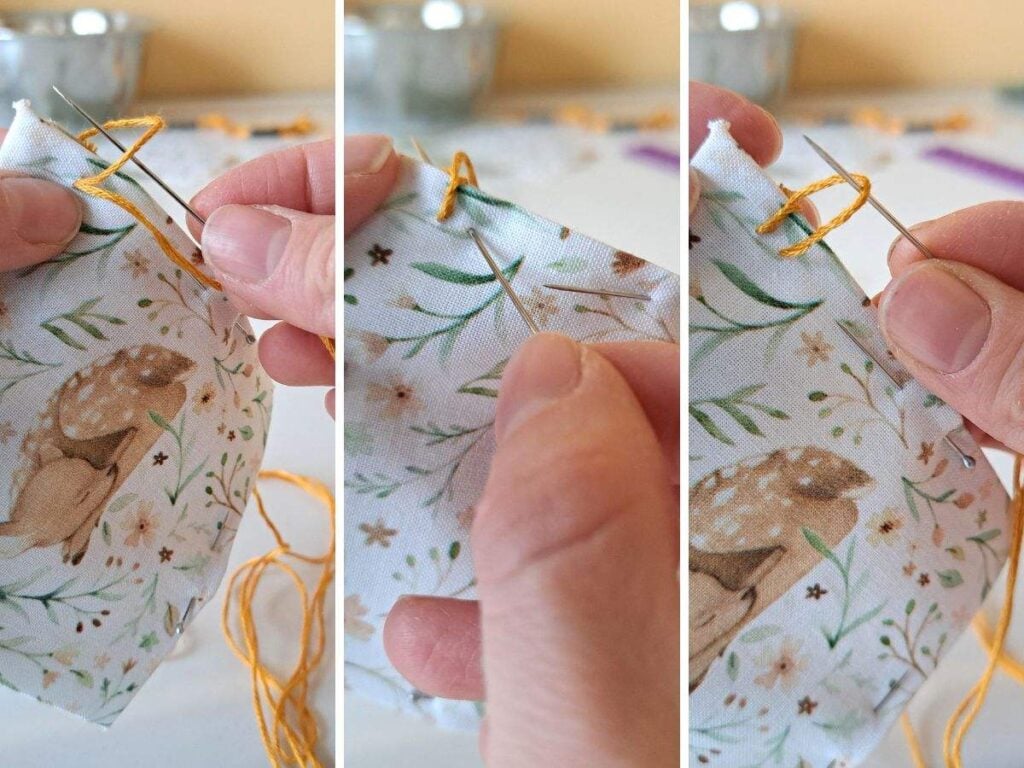
Pull the thread through until you have a loop at the top. Pass your needle through the loop from right to left, and pull to tighten.
Push your needle through the front of your pouch all the way to the back. You should be about 1/4 inch from the edge and from your last stitch.
Pull the thread through until you have a loop and then pass through the loop again.
Continue on like this as you try to keep the same tightness and distance on your stitches. Don’t pull too tight or it will bunch up your fabric.
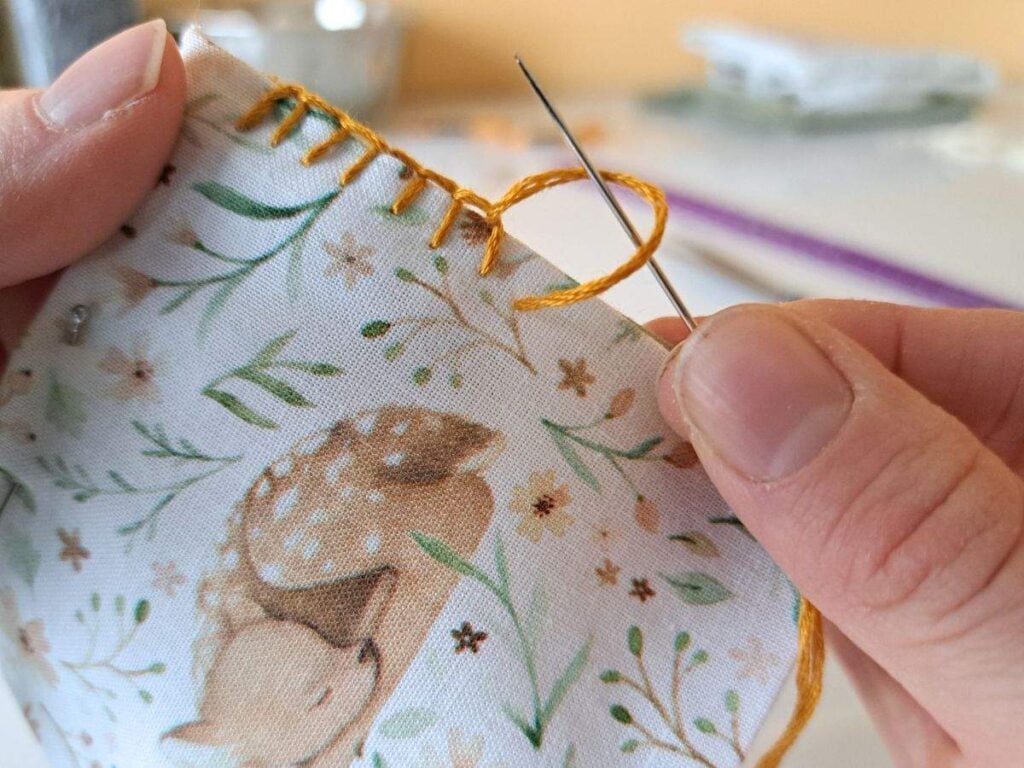
I like to add a diagonal stitch on the corners. To do this just have the three stitches starting closer together and then when you are pulling tight direct where the stitch lays.
It can be a bit finicky and you don’t need to do this, but I think it looks nice.
Continue stitching until you have just enough space left to add your dried herbs.
Step 3 – fill the sachet and finish sewing
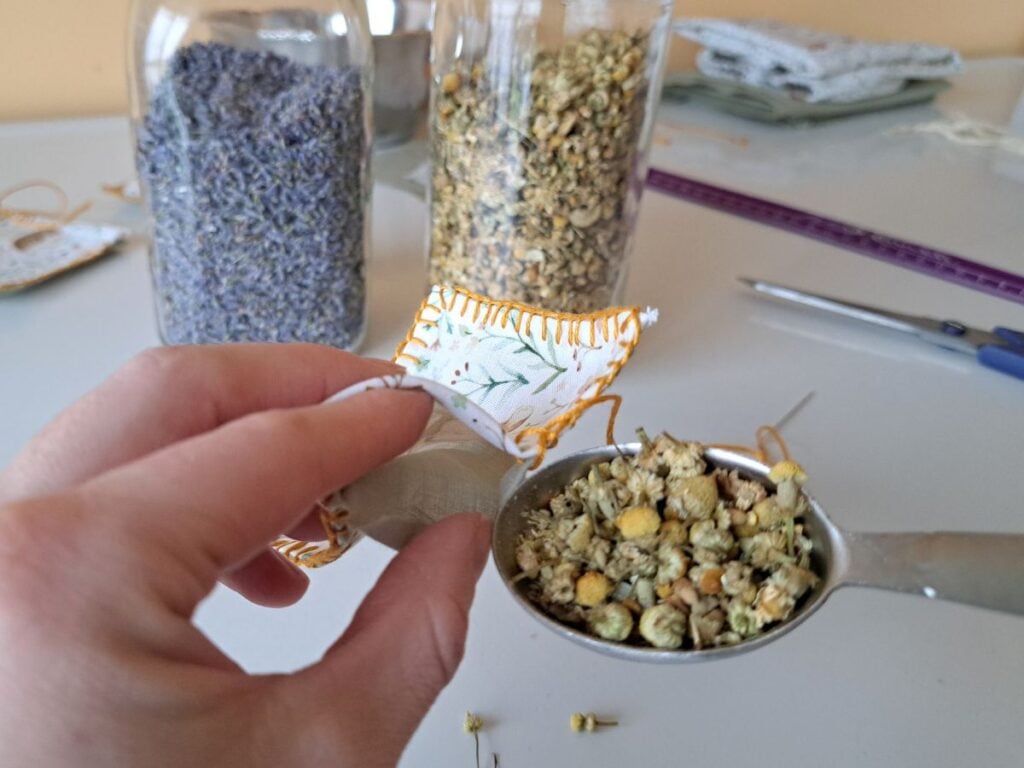
Your sachet will hold between 3 1/2 to 4 tablespoons of material. You can do a mix of herbs and rice, or just herbs.
If you add rice, it will weigh them down a little bit more and your scent may be a little more subtle. I added 1 1/2 tablespoons of rice and the rest was herbs. I did a mix of lavender and chamomile for these.
Keep reading for scent combos and suggestions.
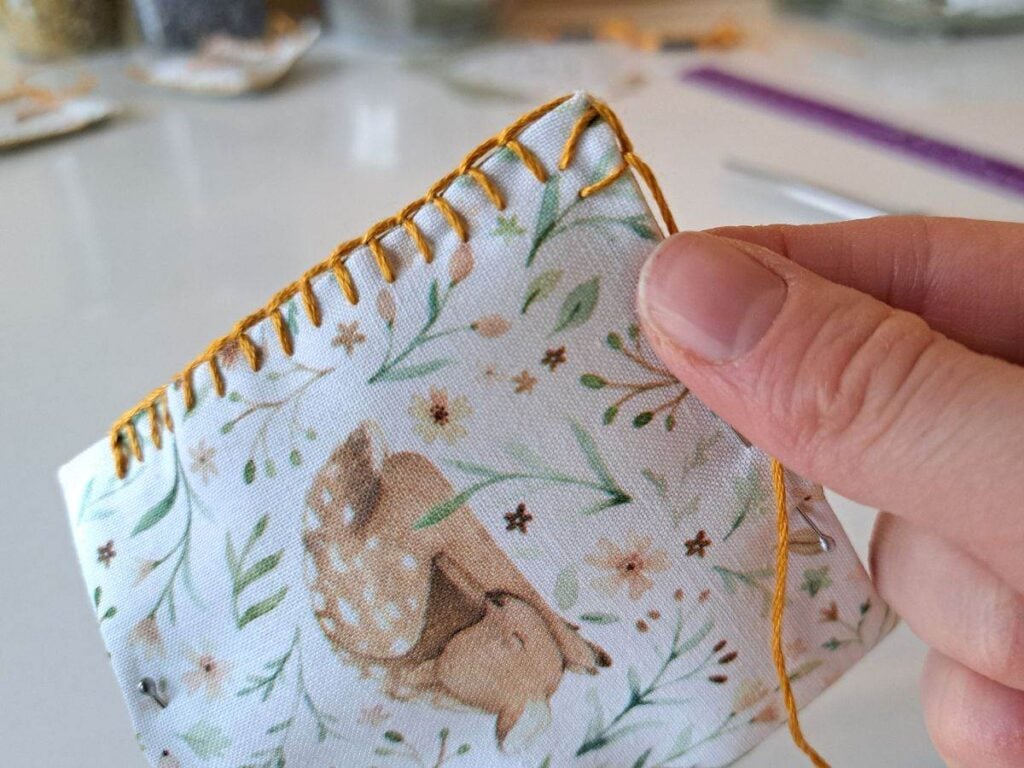
Once you have filled your sachet it is time to finish the sewing. Continue with the same stitch until you reach the place where you started.
You can run your needle through the underside of the last stitch and then make a knot by passing the needle through the loop a couple times.
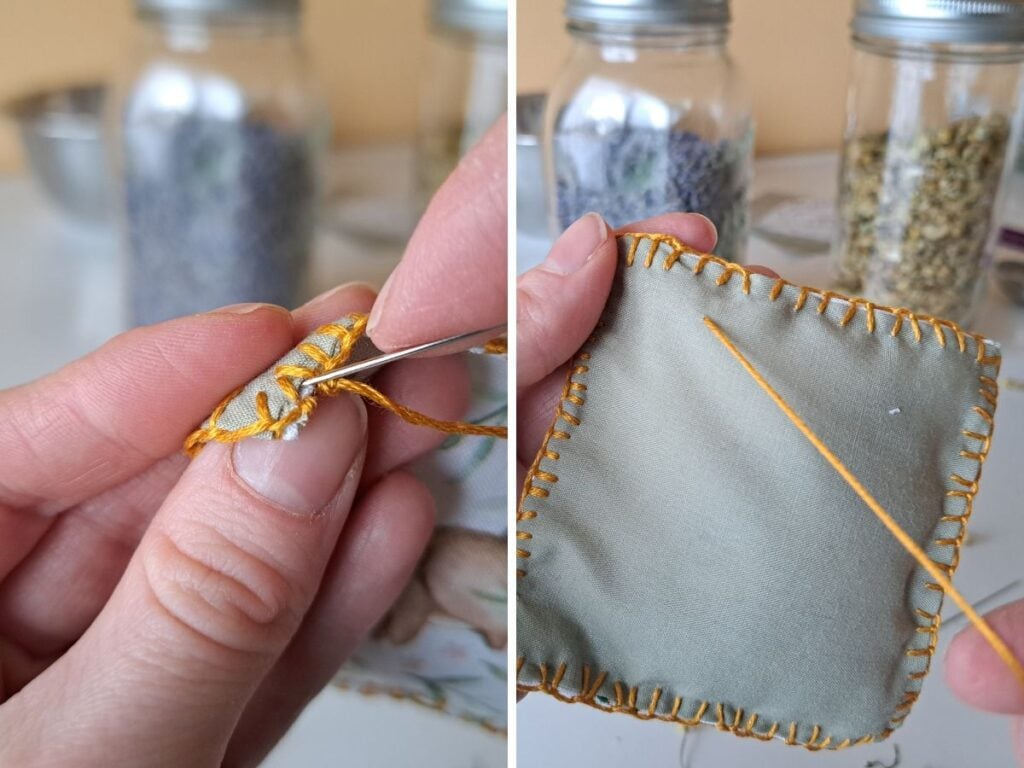
To hide the knot and tail you will push your needle through the layers of fabric and in to the middle of your sachet. Then come out anywhere on the back or your project.
Pull the thread a bit and then cut close to the fabric. Then you can massage the sachet a bit and the left over thread will go inside the pouch and not be seen.
Option 2: No sew method
This no sew method is as easy as one, two, three! Like seriously – you can do it in just three easy steps. It is perfect if you don’t like or want to sew, but still want to have a lovely smelling scented sachet to use around your home.
Here is what you need to do:

- Cut out the fabric – I did mine with a 4″ x 4″ square and I think it was too small, so you may want to try a minimum of 6″. Experiment and see what works for you.
- Place your material in the center.
- Gather up the edges of the fabric and secure the top with a ribbon, twine, or elastic band.
Voila! That is all there is to it.
If you prefer the look of a pouch instead of this shape, then you can also just buy little bags to put your herbs inside. I have seen them online and at the dollar store.
Just make sure that which ever fabric you choose is breathable and also quite fine. This way the scent can move through the air nicely, and you won’t loose any pieces either.
The Best Herbs to Fill your Sachets
If you don’t grow your own herbs, and are looking for a good place to buy dried herbs, then I would check out Richter’s Herbs. Other than that, you can find many of these herbs and spices at your grocery store.
- Lavender
- Rose petals
- Chamomile
- Thyme
- Mint
- Sage
- Clove
- Cinnamon
- Evergreens (Balsam fir, Pine, Cedar, Juniper)
- Dried orange peel or other citrus
- Eucalyptus
- Rosemary
- Lemon Balm
- Lemongrass
- Basil
- Oregano
- Lemon Verbena
- Bay Leaves
- Flowers: lily of the valley, lilac, sweet geranium
And the list goes on… You can put any dried material in your scented sachet that you like the smell of. It is fun to create your own scent combinations, but here are some to get you started.
5 herbal sachet Blend Ideas
- For a good night sleep – chamomile, lavender, lemon balm
- Christmas scent blend – rosemary, cinnamon stick, clove, dried orange peel
- Cozy fall home blend – cinnamon sticks, dehydrated apple slices, sage
- For a fresh and clear mind – mint, eucalyptus
- Spring home refresh – dried lemon peel, lilac flowers, lavender
How to Use Herbal Sachets Around the Home and beyond
Scented sachets can be hung in closets, tucked in dresser drawers, placed in linen cabinets, put under your pillow, or even thrown in the car.
You can also use them in seasonal decor, like on your Christmas tree for example with a Christmas scent blend. Or spread the love and give them away as homemade gifts, like a housewarming gift.
How to Store and Refresh Sachets
Keep your herbal sachets in an airtight container when you are not using them. Also be sure there are no temperature extremes. A pantry is a great place for them – just like you would store other dried herbs. This will help preserve the scent.
To refresh your sachets, you can give them a little massage to break up the dried herbs and release more scent. You could also add some essential oil drops on them – just not sure if that would mark your fabric.
I hope you give this a try. Comment below with your favorite scent.
Until next time!
Leave a Reply